Freediving Lanyards: When to Use One and How to Set It Up
A freediving lanyard clips you to the line so your safety team can bring you up if you black out. Wrist vs ankle, line setup and when to skip one.
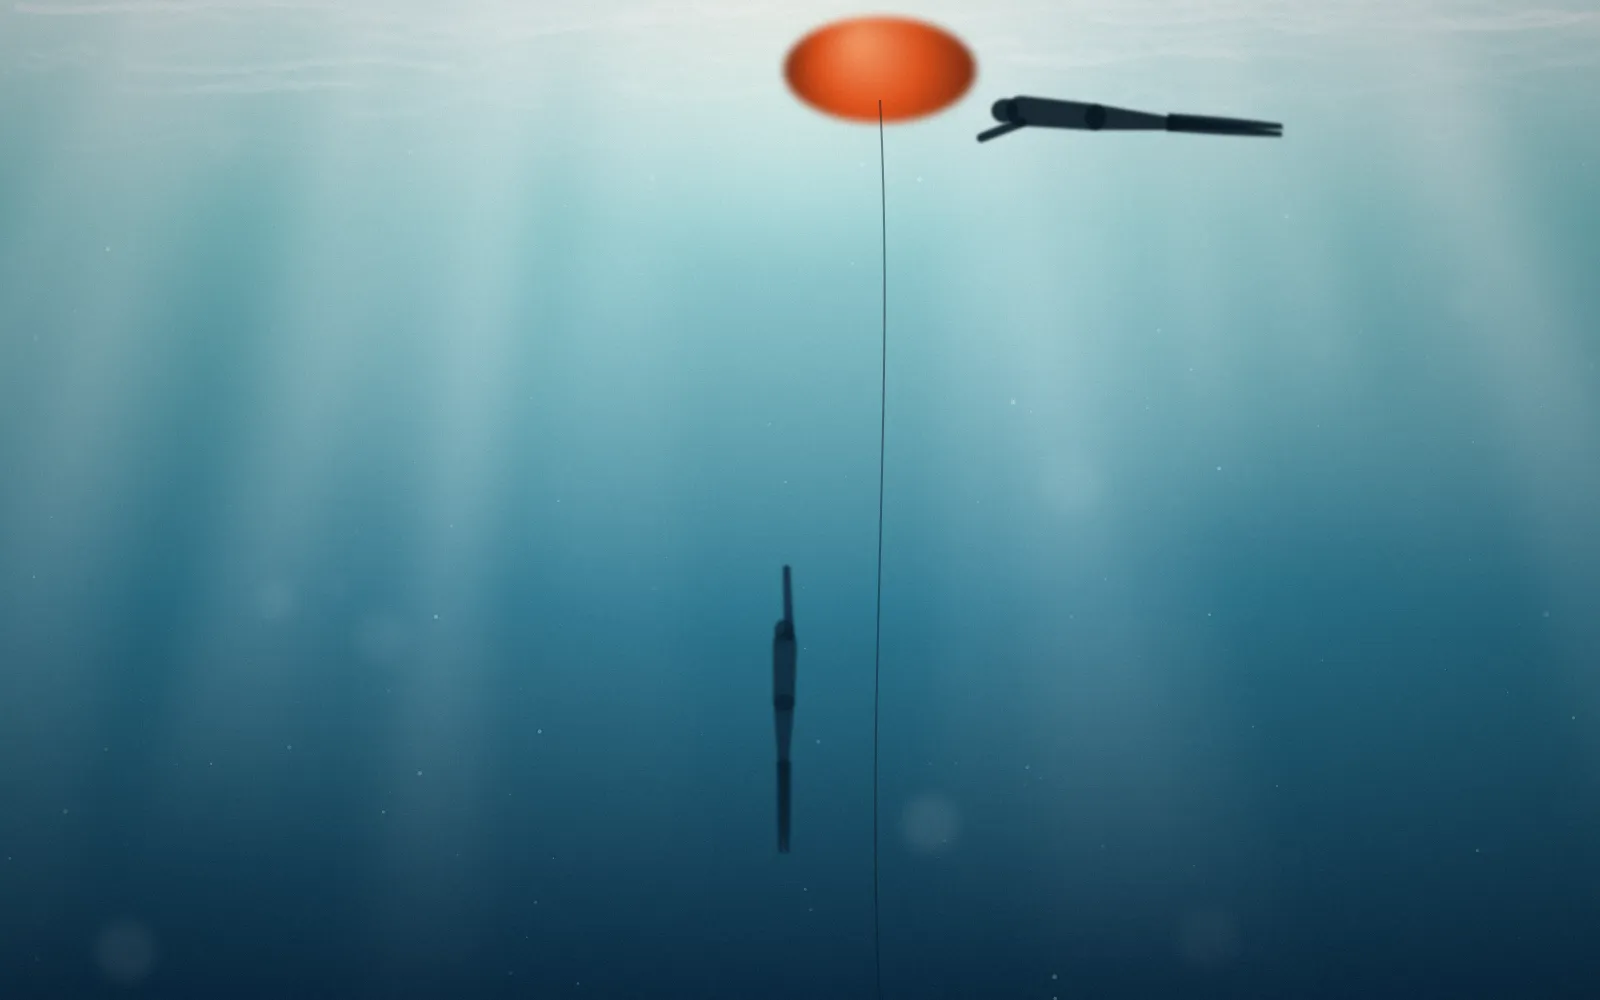
A freediving lanyard is a short leash that connects you to the dive line: a carabiner clips around the line, and a quick-release cuff goes on your wrist or ankle. It keeps you on the line, and if you black out or get into trouble at depth, your safety team can bring the line up with you attached. Use a freediving lanyard whenever you train depth on a line with a safety setup. Skip it when there’s no line, or when getting snagged is a bigger risk than drifting away.
What a freediving lanyard does, and what it doesn’t
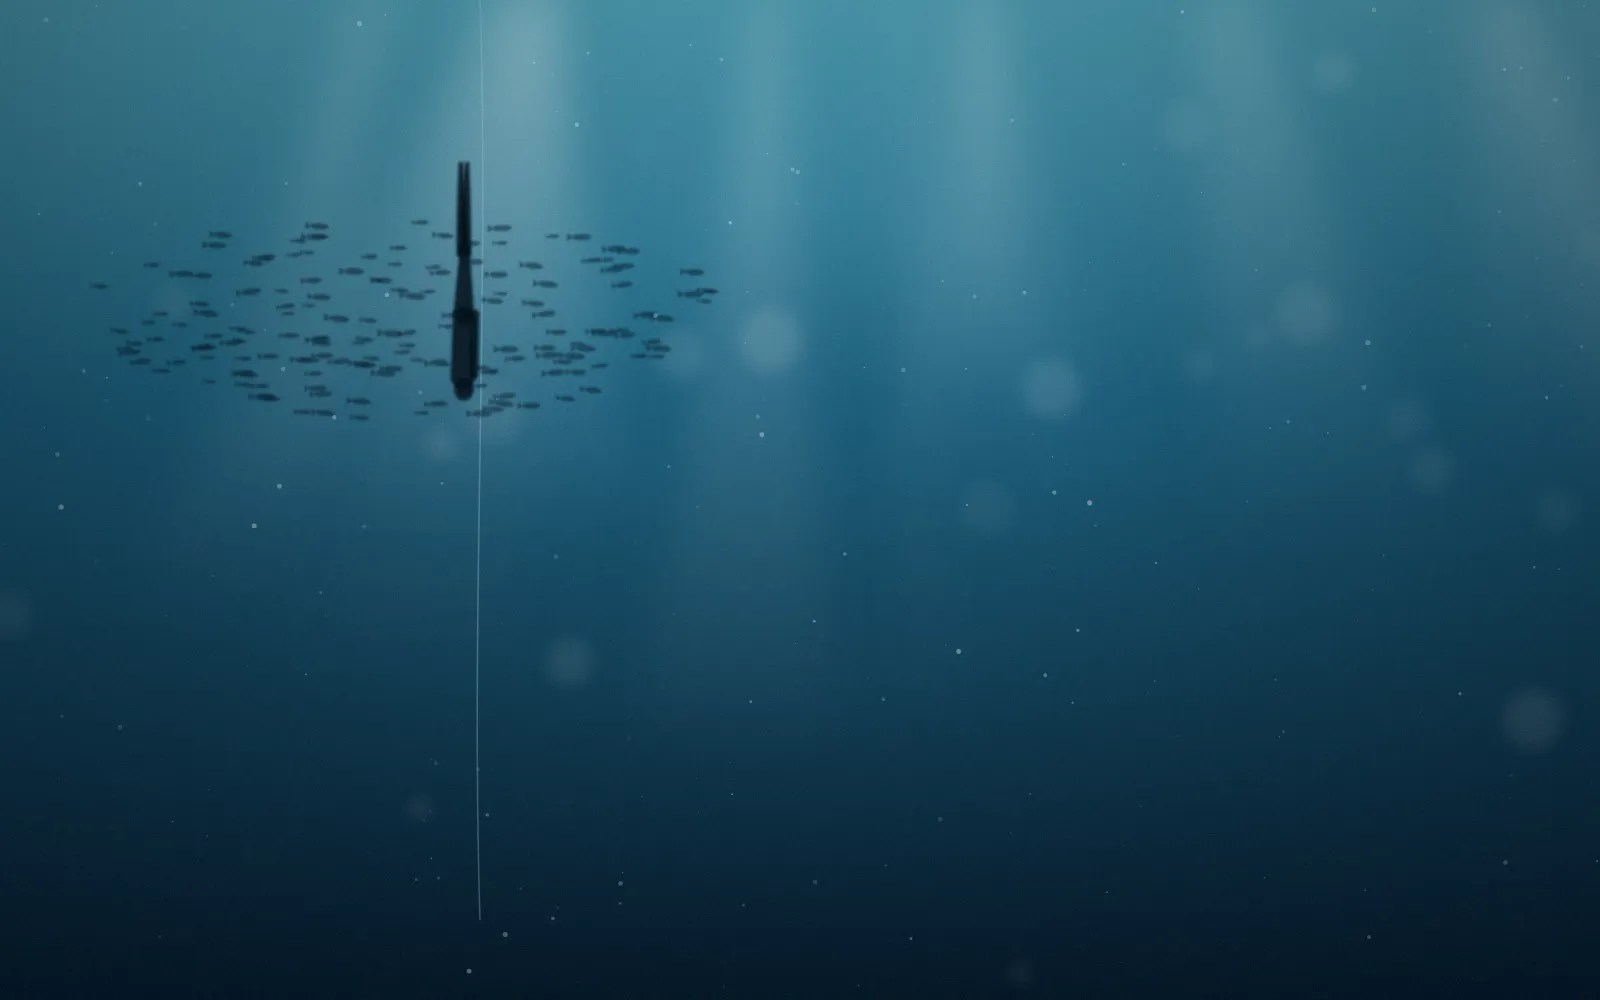
In open water, a diver who blacks out at depth may sink or drift, and in poor visibility or current a safety diver may not find them quickly. A lanyard solves that. Wherever you are on the dive, you’re on the line, and the line can be pulled up.
Current makes this more pressing. Even a gentle drift can carry a diver several metres away from the line over the course of a dive, and a diver who blacks out away from the line is much harder to reach. A lanyard keeps you where your buddy expects you to be.
It does nothing on its own, though. A lanyard needs a buddy or safety team at the surface who is watching, knows your dive time and knows how to recover the line. It’s one layer of the system described in our freediving safety rules, alongside a trained freediving buddy and conservative diving.
Safety: A lanyard only helps if someone at the surface is watching you and knows how to use the line to bring you up. Never treat it as a reason to dive without a trained buddy.
The parts of a freediving lanyard
- Carabiner. Clips around the line and slides freely along it. It should open easily with one hand and run smoothly without catching.
- Cord. A short length of line, straight or coiled, sometimes with a swivel to stop it twisting.
- Cuff with a quick release. Usually a Velcro strap around your wrist or ankle, with a pull tab or release you can open in one movement, even with cold or tired hands.
Keep it short. A long lanyard tangles around fins and the line, and lets you drift further from the line than you need to. Competition rules set limits on length and attachment, so check the current rulebook if you plan to compete.
Wrist or ankle lanyard?
| Wrist | Ankle | |
|---|---|---|
| Reaching the release | Easy, right in front of you | Harder; you have to reach down or bend |
| Hands and arms | The cord sits near your hand, which some divers find gets in the way of pulls or arm strokes | Keeps hands and arms free |
| Tangling | Can wrap around the line during pulls | Can catch on fins or around the legs |
Both are widely used, and preferences vary by discipline and by diver. Try each with an instructor and pick the one that stays out of your way. Fit matters as much as position. The cuff should be snug enough that it can’t slide over your hand or foot, but not so tight that it pinches or becomes hard to open with cold fingers. Whichever you choose, practise the release: at the surface first, then on a shallow dive, until you can do it without looking.
If you train free immersion, check where the cord sits as you pull. It should run clear of the hand-over-hand movement, not get trapped between your palm and the rope.
How to set up a line for lanyard diving
A basic setup for depth training has five parts:
- A buoy or float big enough to support the line, the bottom weight and a couple of resting divers.
- A line thick enough to grip comfortably, which the carabiner slides along easily.
- A bottom weight to keep the line vertical.
- A bottom plate, stopper or ball fixed at the end of the line above the weight, so the carabiner can’t slide off the end. This one is non-negotiable.
- Depth markers or a tag, set for the dive you’re doing.
Set the line so the bottom plate sits at your planned depth. With a lanyard on, the plate becomes a hard stop, so you can’t go much deeper than the end of the line, which is one more reason to measure its length carefully.
Check the setup before the first dive of every session: the line length matches the planned depth, the stopper is secure, the carabiner gate snaps shut, the Velcro grips and the release opens cleanly.
Clip in at the buoy during your breathe-up, not in the final seconds before you go, so you’re not fumbling with a gate while trying to relax.
Counterweight systems for deeper diving
For deeper training and in competitions, many setups use a counterweight (or counter-ballast) system. The line runs over a pulley at the surface. On the diver’s side is the bottom plate and its weight; on the other side is a heavier counterweight, held at the surface by a lock or release.
If a diver gets into trouble at depth, the safety team releases the counterweight. As it sinks, it pulls the diver’s end of the line up towards the surface, bringing the diver, clipped on by their lanyard, with it. The point is to bring an unconscious diver up quickly without anyone having to dive to depth to reach them.
In shallower training, a team at the buoy can sometimes haul the line up by hand, but this is slower and harder than it sounds. If you’re training at depths where your safety diver couldn’t comfortably reach you, you need a counterweight system or a much more experienced safety team, set up by an instructor who has run one before.
When not to use a lanyard
- Spearfishing, reef exploration and fun dives without a line. There’s nothing to clip to, and a dangling leash snags on coral and rocks. Our post on spearfishing and freediving covers the different safety approach that hunting needs.
- Near wrecks, rocks, nets or fishing line. Anything that can snag a lanyard can trap you.
- Pool training. There’s no line; your buddy follows you along the lane instead.
- When the release isn’t working perfectly. A lanyard you can’t open is a trap, not a safety device.
Common mistakes are mostly about habits: forgetting to clip in, wearing a cord so long it loops around your fins, never testing the release, and assuming the lanyard makes up for a distracted buddy.
Before you clip in on your next trip
If your first open-water course is coming up, you don’t need to buy a lanyard yet; your instructor will usually have the setup ready. Read our guide to your first open-water freedive so you know what the buoy and line will look like. Once you start training depth with your own buddy and line, a lanyard belongs on your freediving gear checklist next to your mask and fins.
Stay tuned for the freediving.in community, launching soon.
Frequently asked questions
Do beginners need their own freediving lanyard?
Not usually at first. On a course, the instructor normally provides the line, buoy and lanyards, and decides when to use them, often for depth work in current or low visibility. Once you start training depth with your own buddy and your own line, a lanyard becomes standard kit, and it's worth buying one and practising the release before you need it.
How long should a freediving lanyard be?
Short. It should keep you close to the line without tangling around your fins or the rope. Most commercial freediving lanyards are roughly a metre long, give or take, and many are coiled to stay compact. Competition rulebooks set their own limits on length and attachment, so if you plan to compete, check the current AIDA or CMAS rules for the event.
Are lanyards required in freediving competitions?
In depth disciplines at major competitions, athletes are generally required to be attached to the line with a lanyard, and the rulebooks specify details such as how it is attached and how long it can be. Rules are updated from time to time, so read the current rules for the federation and the specific event before you register.